Super Light Sensitivity?
- gbdrcf05
- Dec 13, 2020
- 4 min read
Aloha friends and welcome (back) to my website! :)
Today, I have for you some images showcasing how I got certain depths within my photos.
Before diving straight into the photo analysis, I would like to mention that this post is a continuation or a 'part 2' of my previous post, The Basics Behind the Snaps. However, this post was created in order to specifically highlight using higher ISO settings, especially within portraits.
Before taking the time to specifically capture these photos, I had changed my ISO settings, before. For example, in my previous post, I had changed my ISO in both light and dark situations. Although, the purpose of that was to compare the different ISO settings to each other. For these photos, I was not trying to show any comparisons, but simply just put what I had learned about ISO to the test. It's definitely more useful to use my camera's ISO settings when needed instead of just for experimental comparison purposes.
Now, without further ado,
Here are my top images in which I utilized high ISO settings!


For this collage of my first four photos, I took some very simple, blank-background portraits. The top two images were created using a black background, whereas the bottom two images were taken with a white background.
In both sets of images, the lighting was artificial, and partially confined lighting. In order to create all four images, a lamp was used to illuminate the subject, and all other lighting sources were turned off/covered. So, one reason to use the higher ISO in the images was to compensate for the low lighting situation.
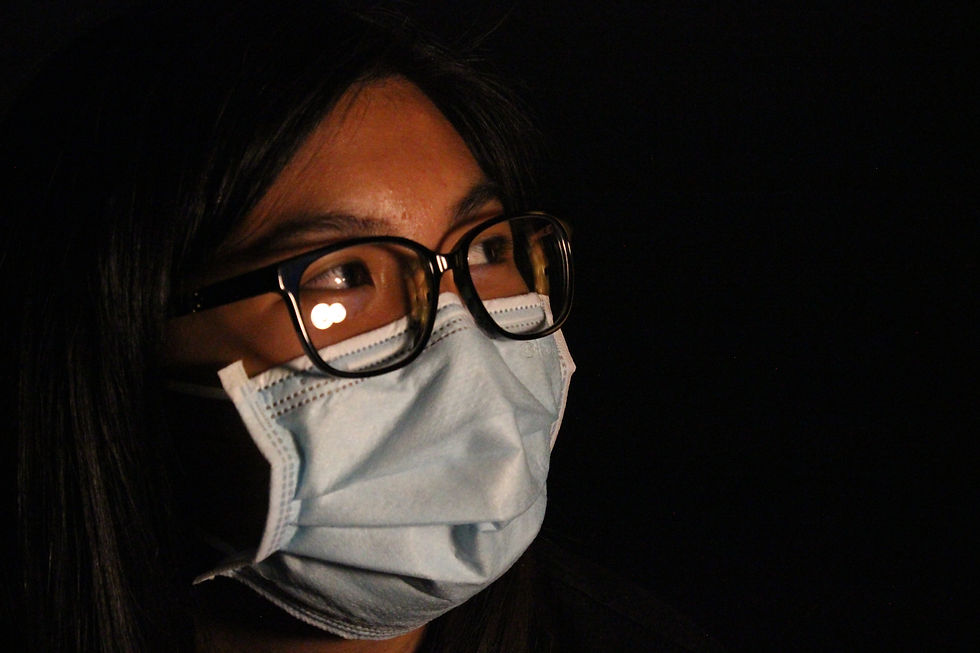
With this image in particular, the subject is one of my classmates, Deszel Daniella Fontanilla (who has her own photography website that you should 100% go check out), and the photo was taken by me.
If you look closely enough at the image, you will see that there are small dot looking thingies of color; that is digital noise. This grainy digital noise comes from turning the ISO settings up so high. I, personally, like the affect it adds to the picture. However, I feel that the digital noise in the image would really be accentuated if it were to be in black in white!
With this in mind, I do believe that using high ISO to create grain is creative and artistic. I will definitely use higher ISO in the future with any low-lit black and white photos I may want to capture with such affects.


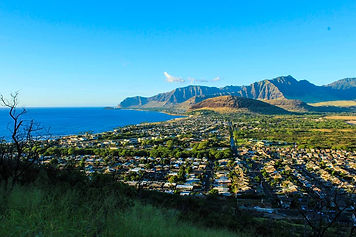
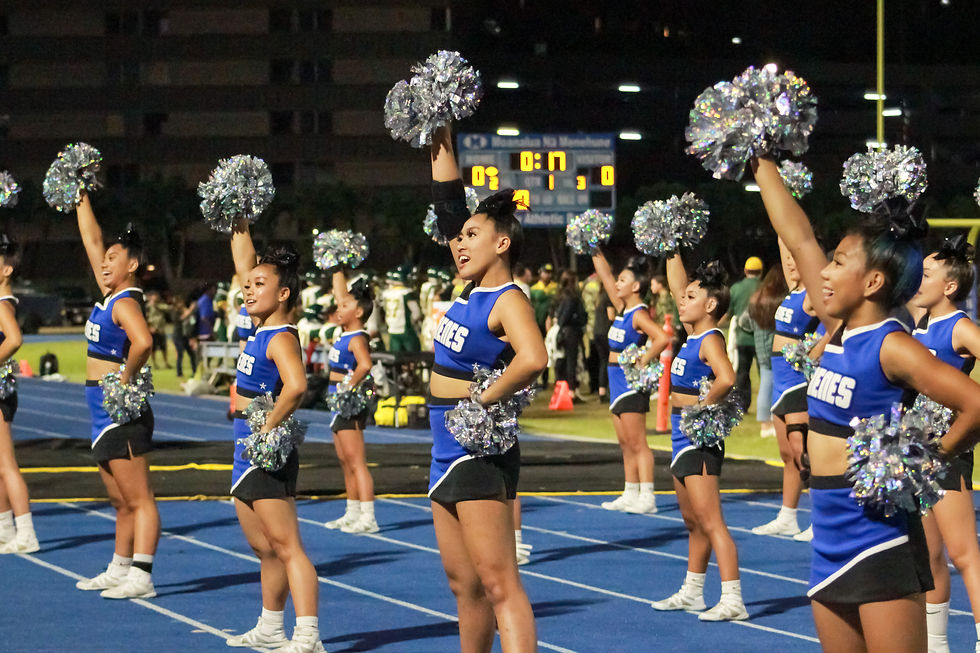
For this collage of my last two photos, I just took images when I saw a chance to use a different ISO setting than 200-400. The image on the left was taken on Halloween night, whereas the image on the right was taken at sunset sometime in November.
In both images there was limited lighting. In order to create both, I used whatever light I had to illuminate the subjects. So, the reason to use the higher ISO in the images was also to compensate for the low lighting situation.
For this photo, specifically, I was indoors, at night, with very little artificial lighting to work with. Because I had such little light available to me, I had to increase my ISO settings all the way to the maximum my camera allows (6400).
However, I did feel limited by this maximum ISO, as I would have liked to increase my ISO even more. I typically like to keep my shutter speed as fast as it can go while still keeping the image properly exposed. If my camera's ISO settings went higher, I could have kept that shutter speed on the quicker end. Also, I feel that the grain affect to this image may have looked kewl, if it were more exaggerated.
After experimenting with and actually utilizing my camera's ISO settings, I feel comfortable enough to move onto focusing on other ways to keep my images properly exposed. With this said, I feel almost completely comfortable using ISO to my advantage, when taking photos. I know now which ISO settings to use with certain lighting situations, but also how it causes my photos to look grainy/full of digital noise. Due to this knowledge, I know can use the digital noise from high ISO settings to my advantage as an artistic affect. Overall, this has definitely strengthened my knowledge of ISO settings.
After this shoot, I think following many photographers' advice of staying away from high ISO settings can be true... but it honestly depends on the situation and what outcome you're looking for, in your photos. For example, I really like the way some of my black and white low lighting but high ISO portraits came out. I loved the grain effect, and how the light sensitivity just 'tied everything together.'
Using high ISO settings definitely comes in handy with certain photos, and I 100% recommend testing it out within your very own photography when you have the chance so that you can form your own opinion!
Thank you for taking the time to read this post! If you like what you read/saw, please be sure to check out some of my other posts!
I am honored to be taking you along on my photography journey! I hope you stay safe and have a wonderful day. Much aloha!
For exclusive posts, behind the scenes, editing, photos fails, and more, follow my Instagram @giabellephoto or by clicking the Instagram icon at the bottom of this website! Mahalo!


Comments